Attention: Changes to How You Sign In
As of August 20th, you must register for a new account (if you haven't already done so). Please see the instructions below for registering and maintaining your new account.
The link to the website has not changed. After registering for a new account, please use your new credentials to sign in going forward.
Account Registration
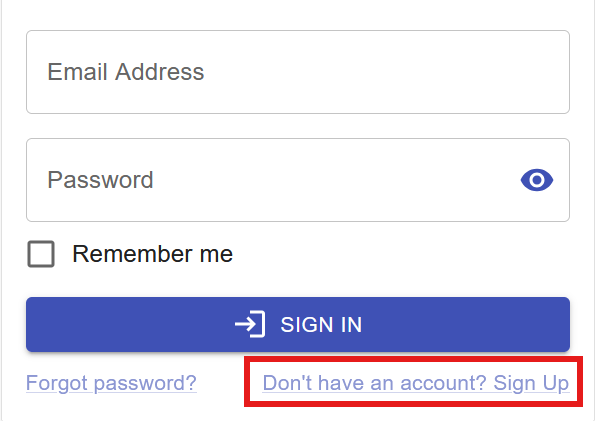
If you do not already have an account, and if you have not received an invitation/registration email, select the "Sign In" button::

Select the Sign Up option
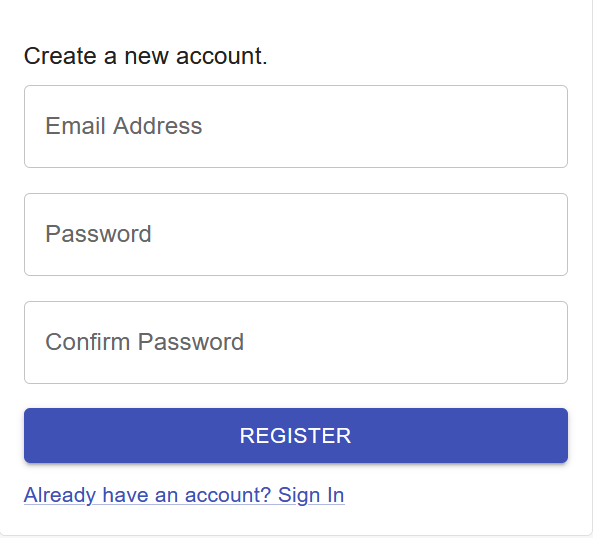
Enter your email and password (minimum 12 characters) to create your account
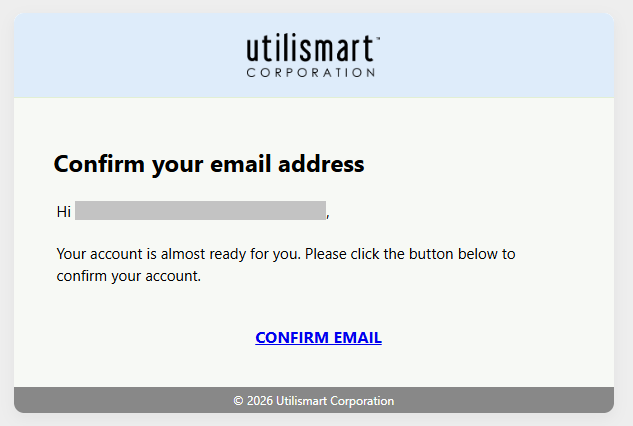
After registration, you will get an email to confirm your email address:
Registration Complete
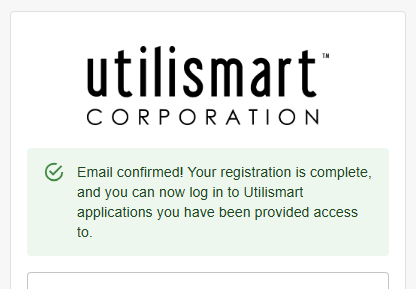
Enter your new credentials on the login page:
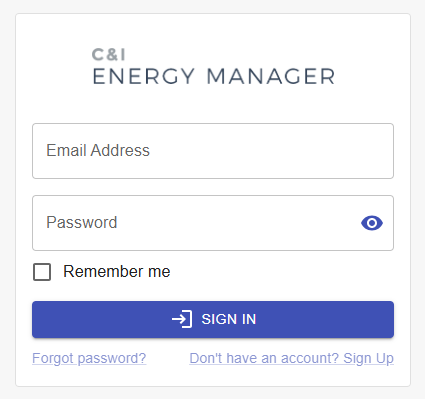
Navigate back to your CIEM or Settlement Manager website to sign in with your new credentials.
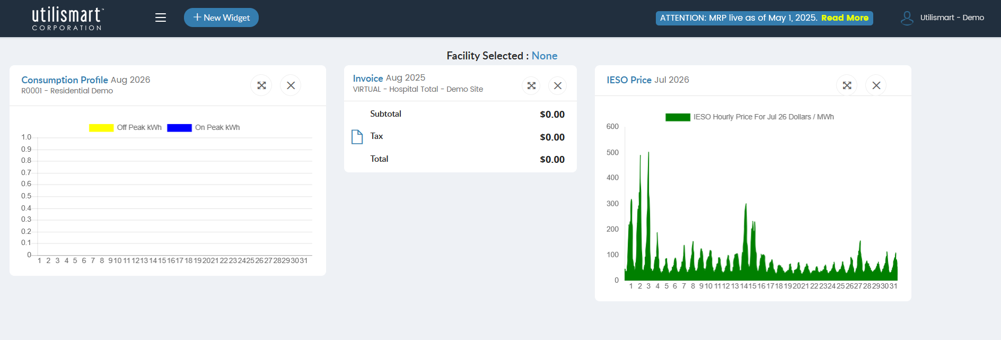
Managing Your Security Settings
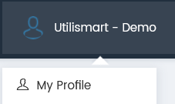
You can set up a different MFA method by first clicking on "My Profile" in the top right corner:
Then select "MFA Settings":
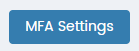
You will be redirected to the MFA Settings page, where you can manage your Multi-Factor Authentication (MFA) settings:
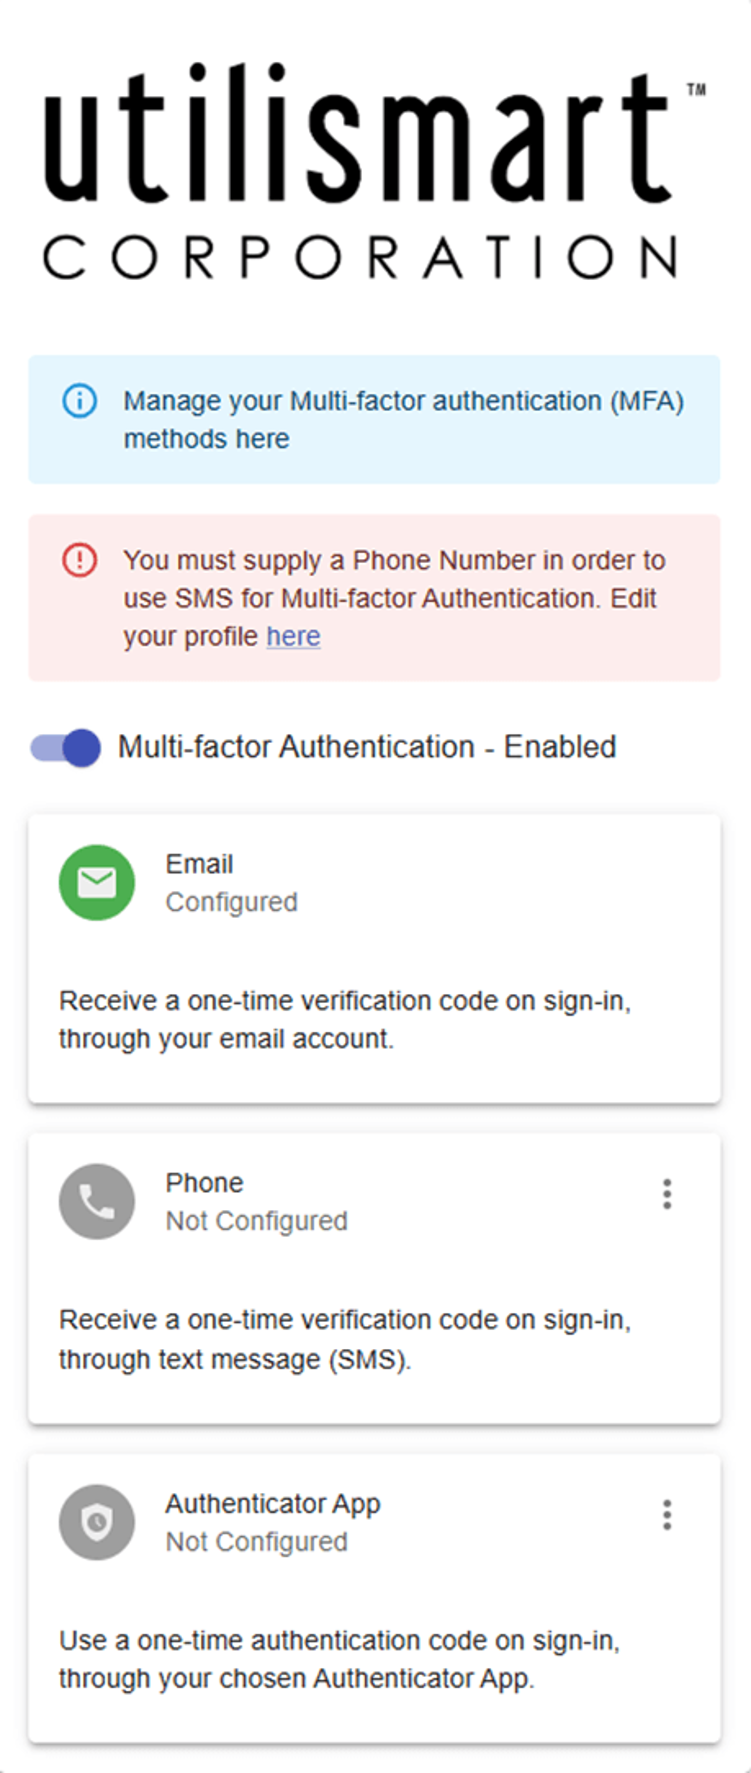
Phone MFA Setup
-
Enter your phone number in the "Profile" section
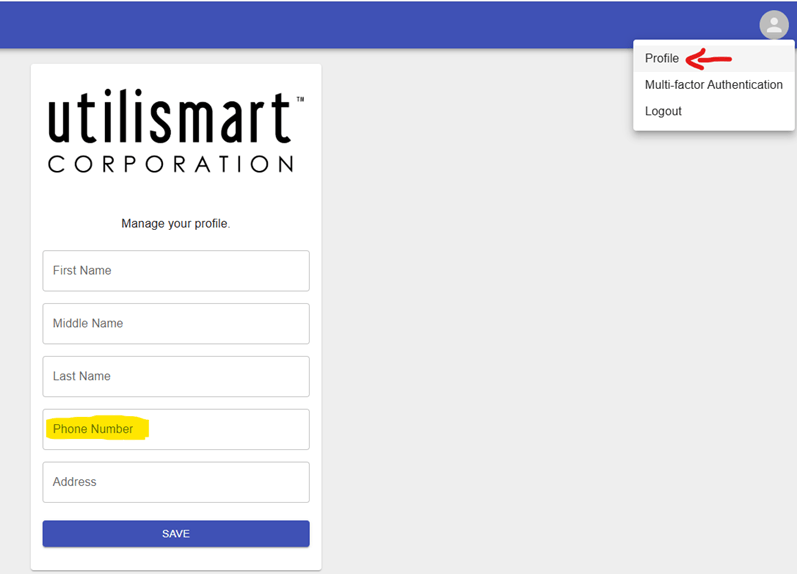 Entering your phone number
 -
Proceed to "Multi-Factor Authentication", click on the 3 dots and hit "Configure"
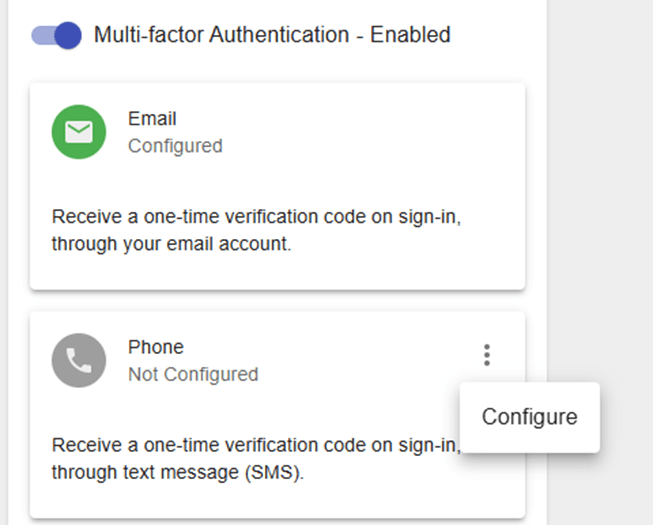 Configuring Multi-Factor Authentication
 -
A code will be sent to your phone for verification and confirmation
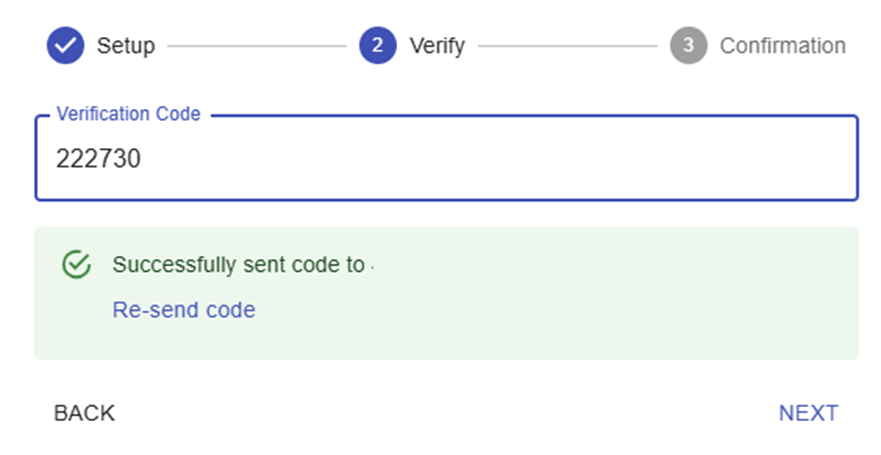 Phone verification
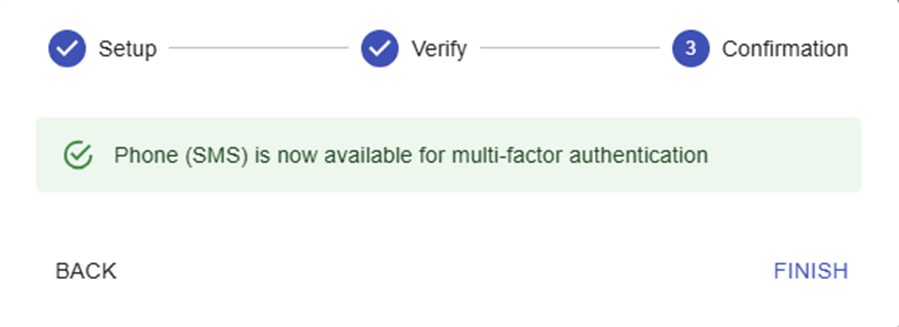 Phone verification confirmed
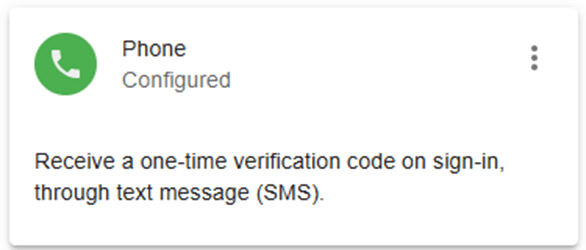 Entering the one-time verification code
Authenticator App Setup
-
Similar to what was done with the "Phone MFA", hit the 3 dots and open the "Configure" window.
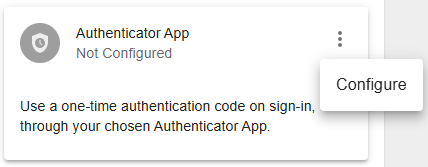 Opening the Authenticator configuration window
 -
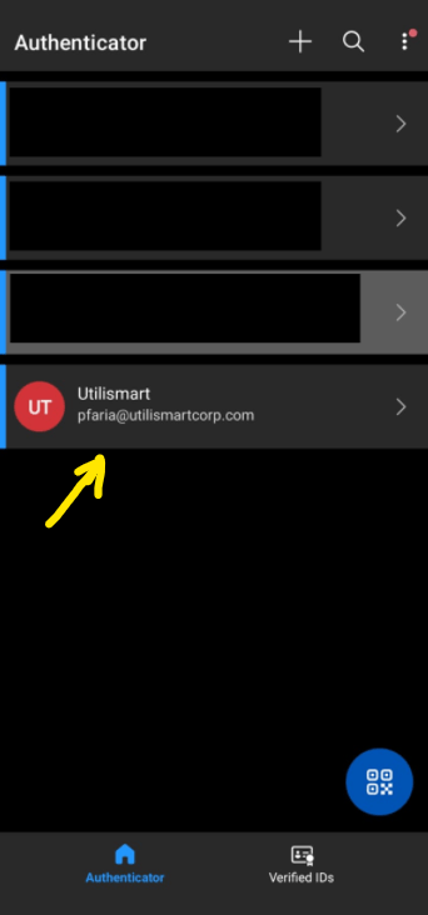
The setup window will ask you to download an "Authenticator" app and read the QR code from the app you have installed.
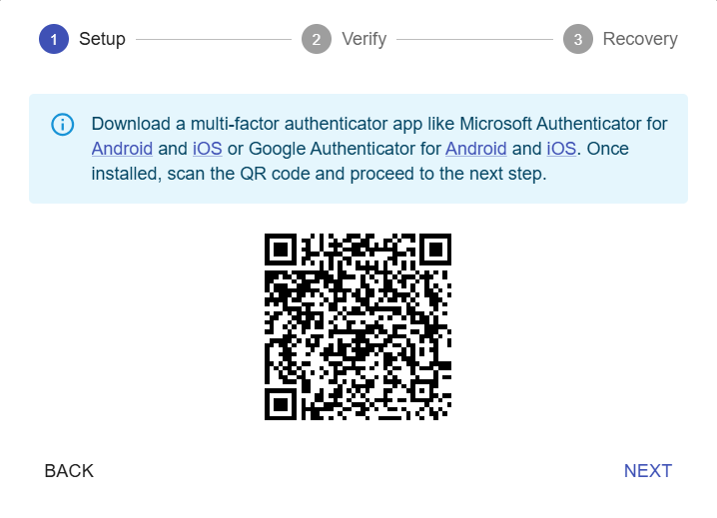 Scanning the QR code with your Authenticator app
 -
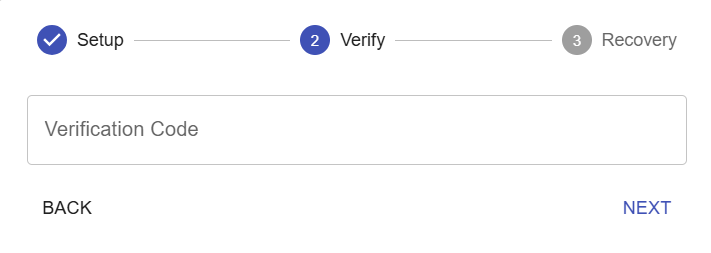
After reading the QR code with your Authenticator, you will be able to hit next and enter the code provided.
 Entering the verification code
 Verification code confirmed
 -
Once the Verification Code is entered, you will receive a set of recovery keys which you should save somewhere safe in case you need them in the future.
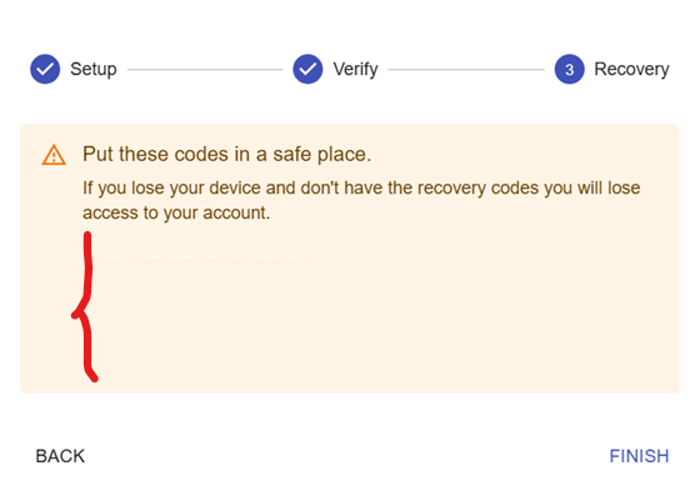 Your recovery keys — save these somewhere safe
 -
After you hit "Finish", the "Authenticator" MFA will be enabled.
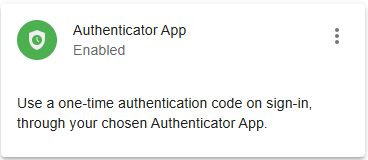 Authenticator MFA enabled